

CONFIGURATION IN ANY COMPUTER WITH THE GOOGLE CHROME BROWSER
Any computer, including HDMI sticks, provided that it could include a Google Chrome browser and had a video output, can be used to deploy Movilok Showcases.
Connection
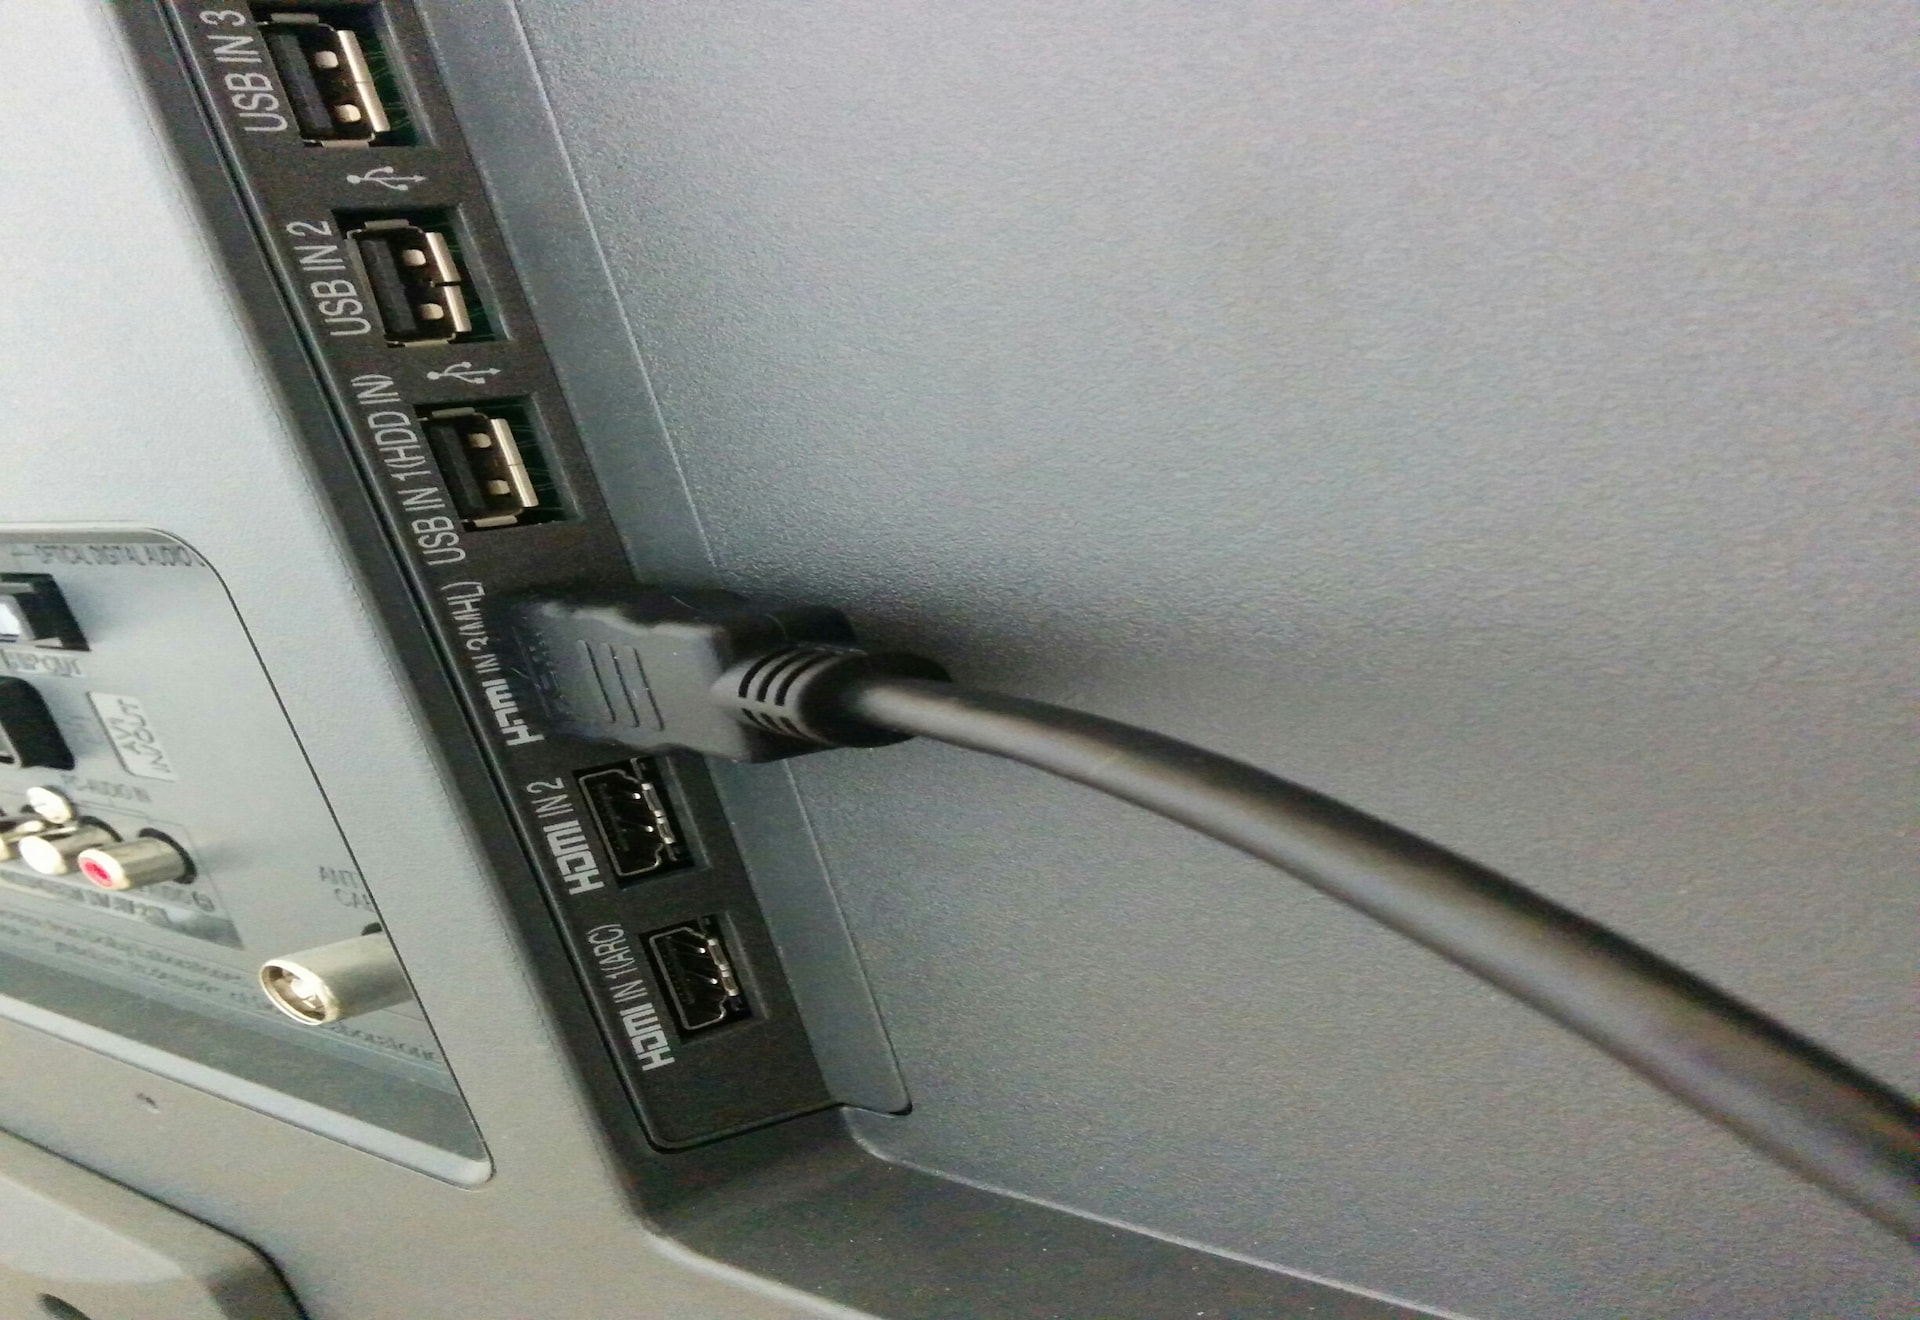
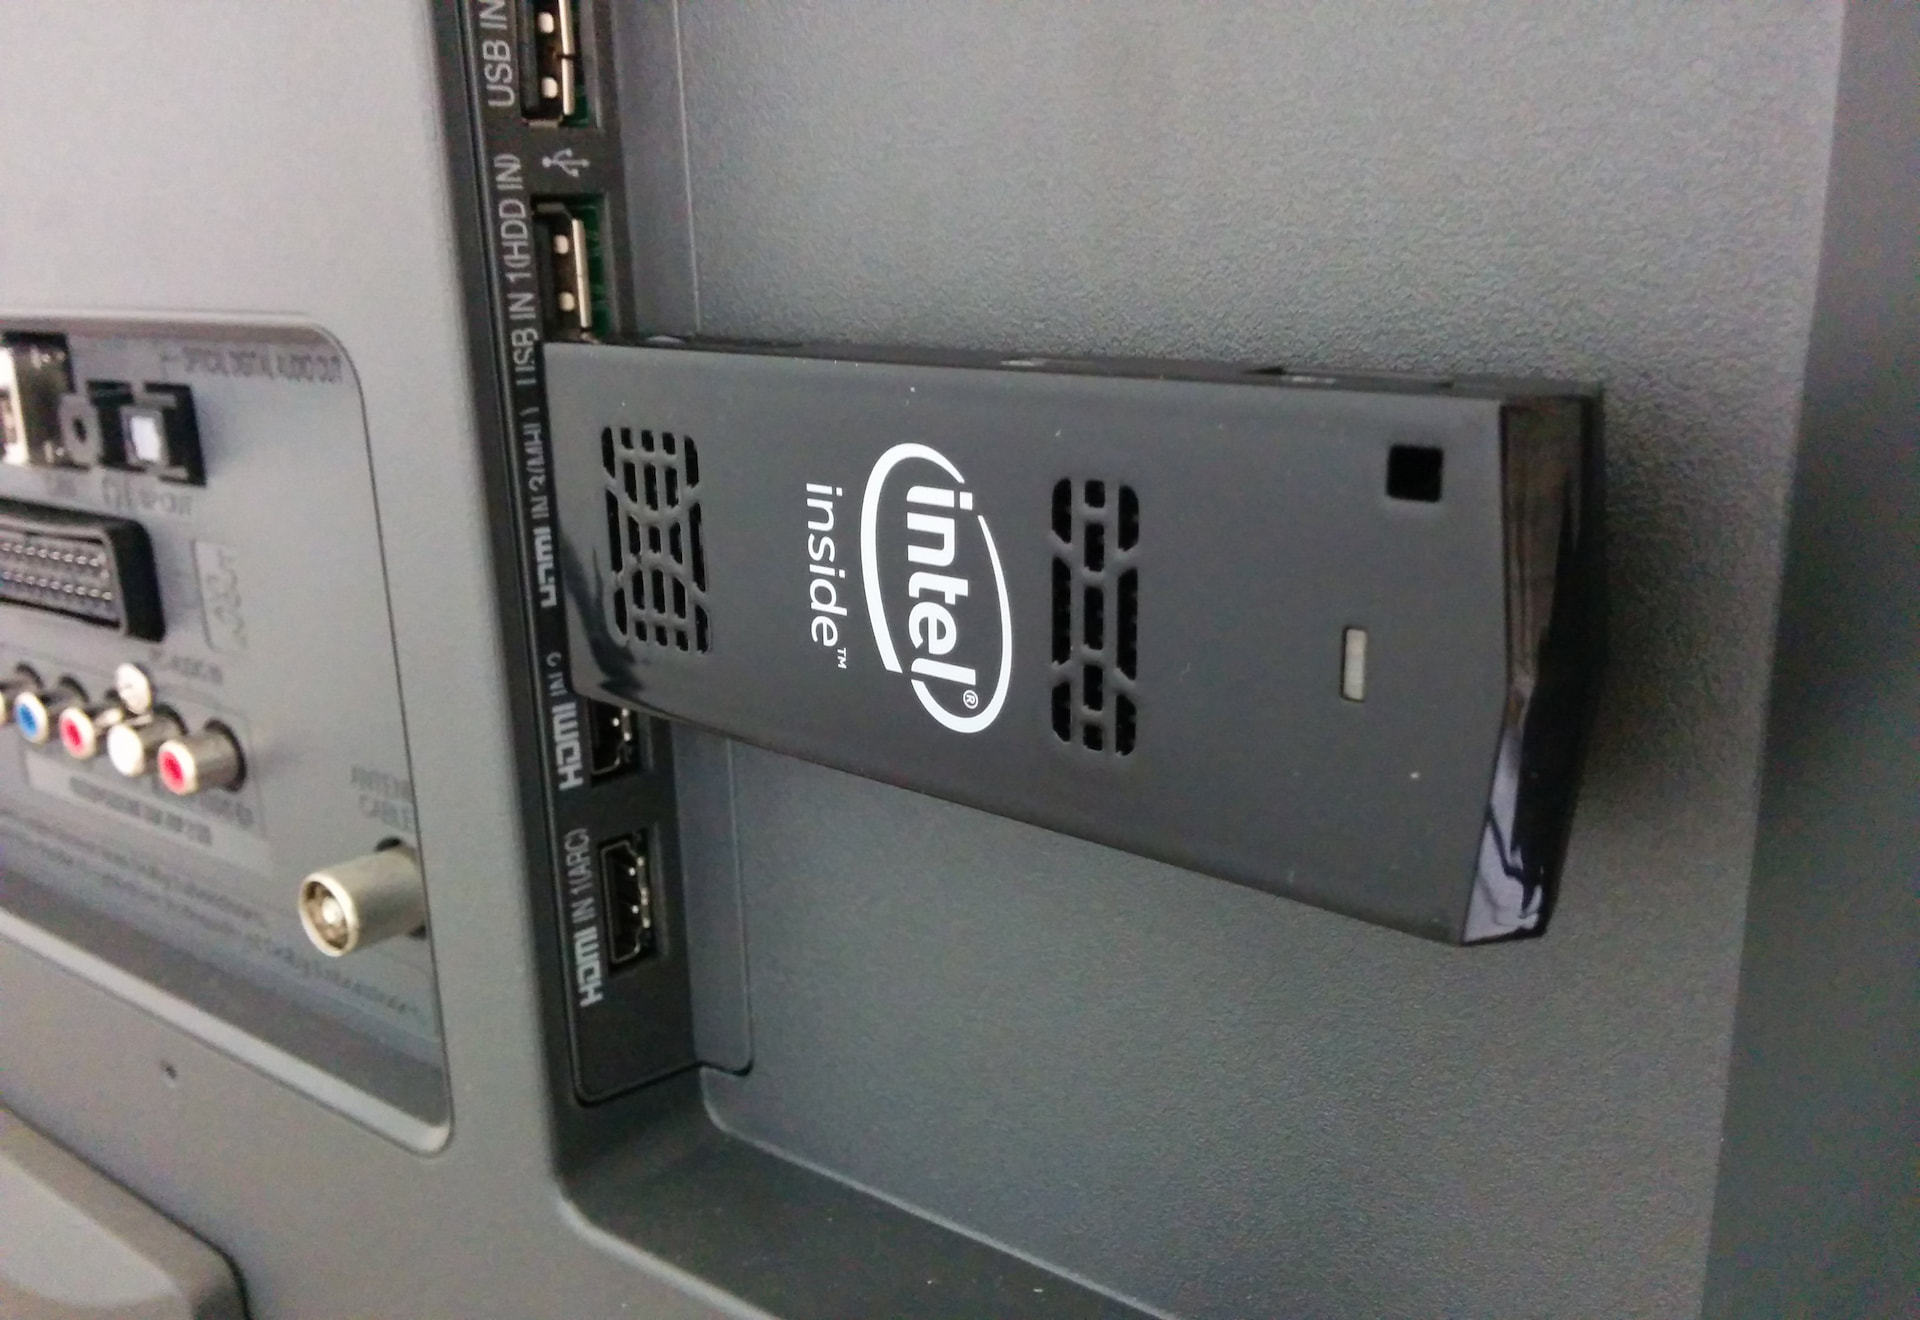
- Connect the video output from your computer or stick to an appropiate input port (usually HDMI) in your TV.
- Plug a keyboard and a mouse into the computer. Connect the power supply and turn on the device.
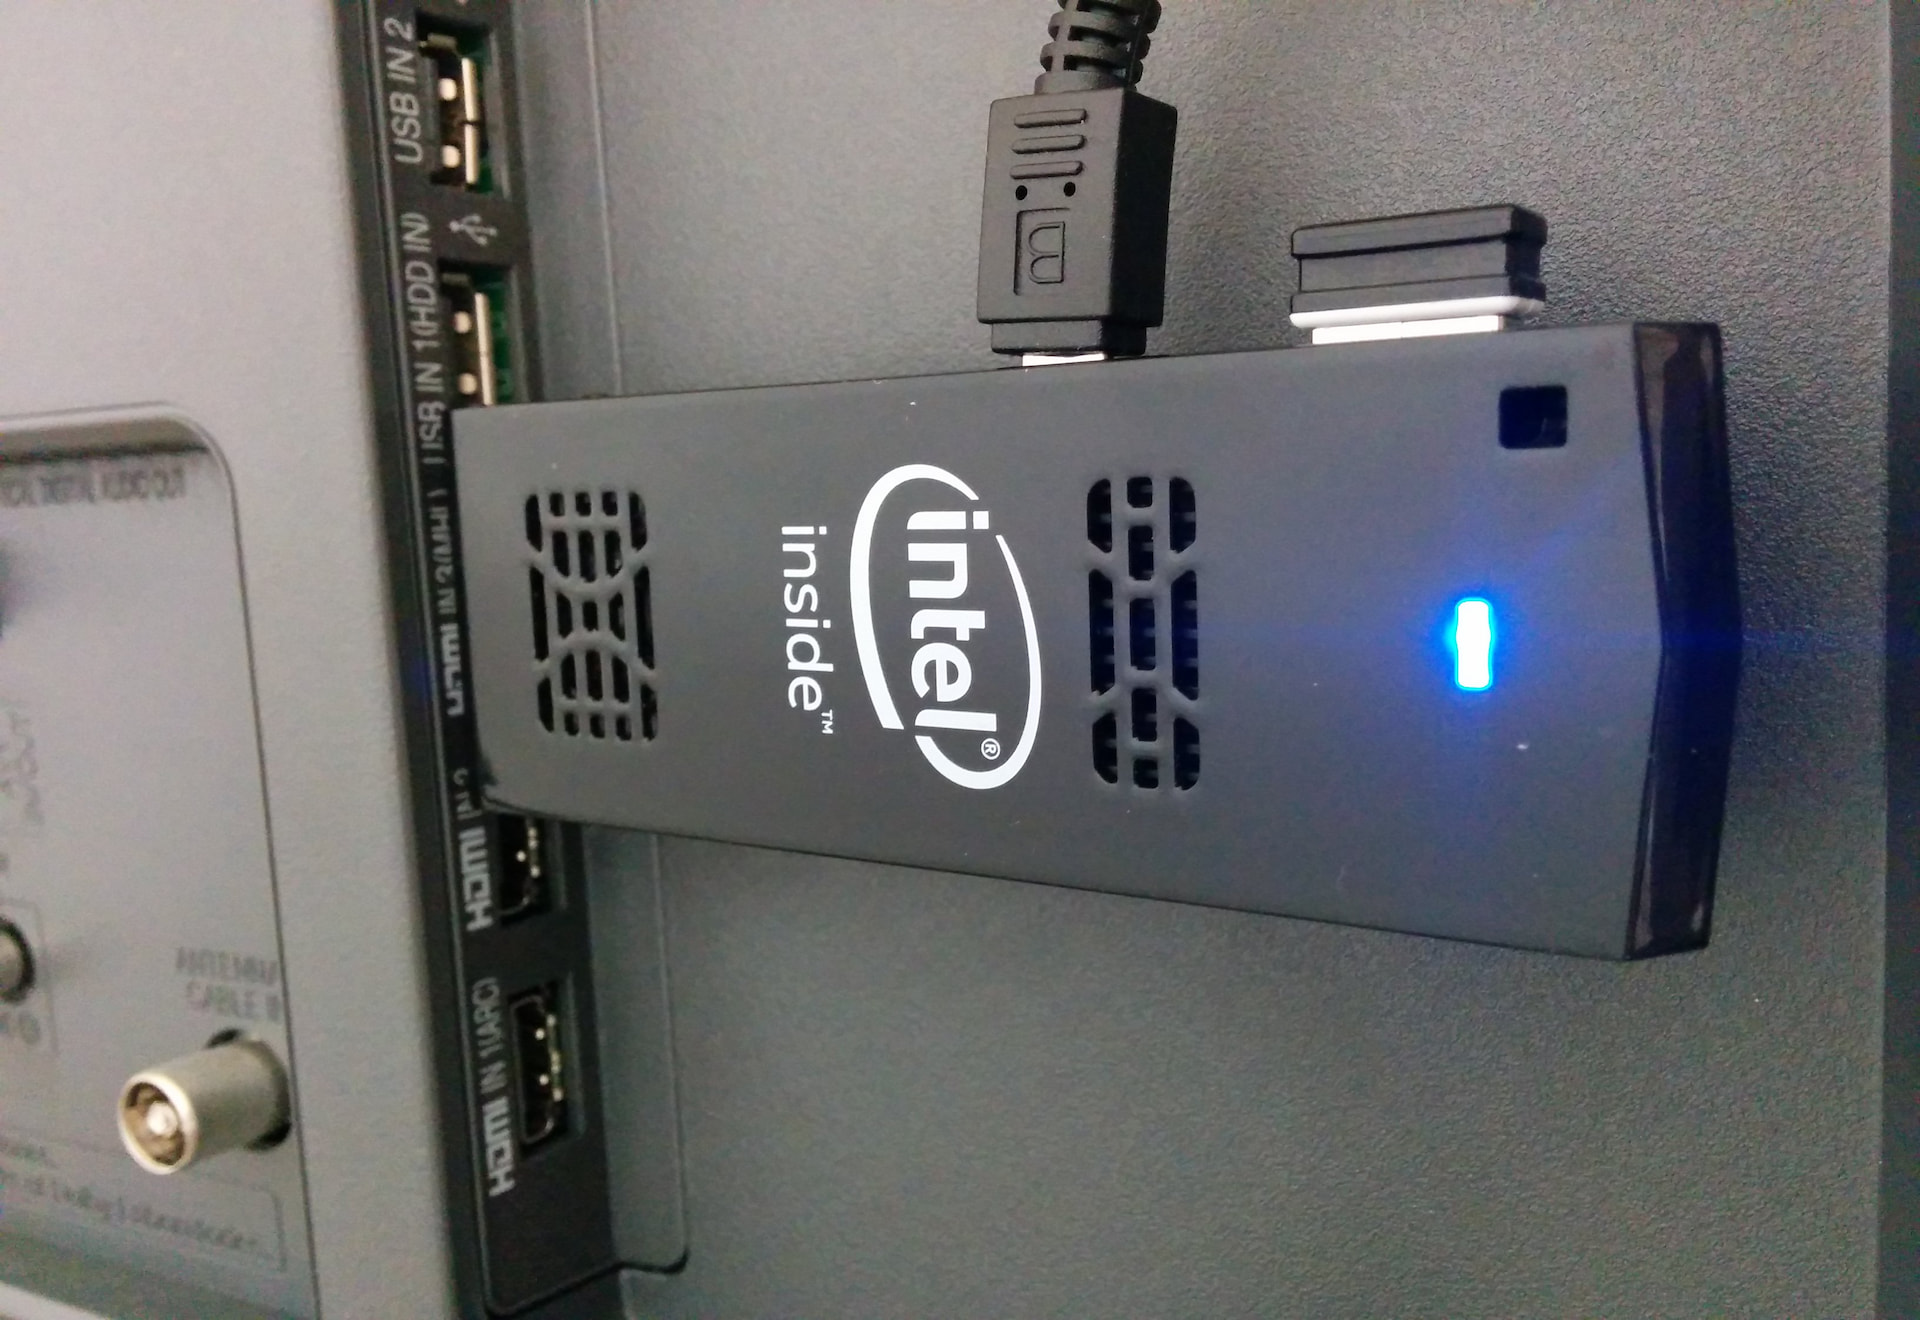
- On your TV, select the HDMI video input in which the device is connected. The main computer screen should be shown.
- Ensure the computer has an Internet connection, either through an Ethernet cable or a Wi-Fi connection.
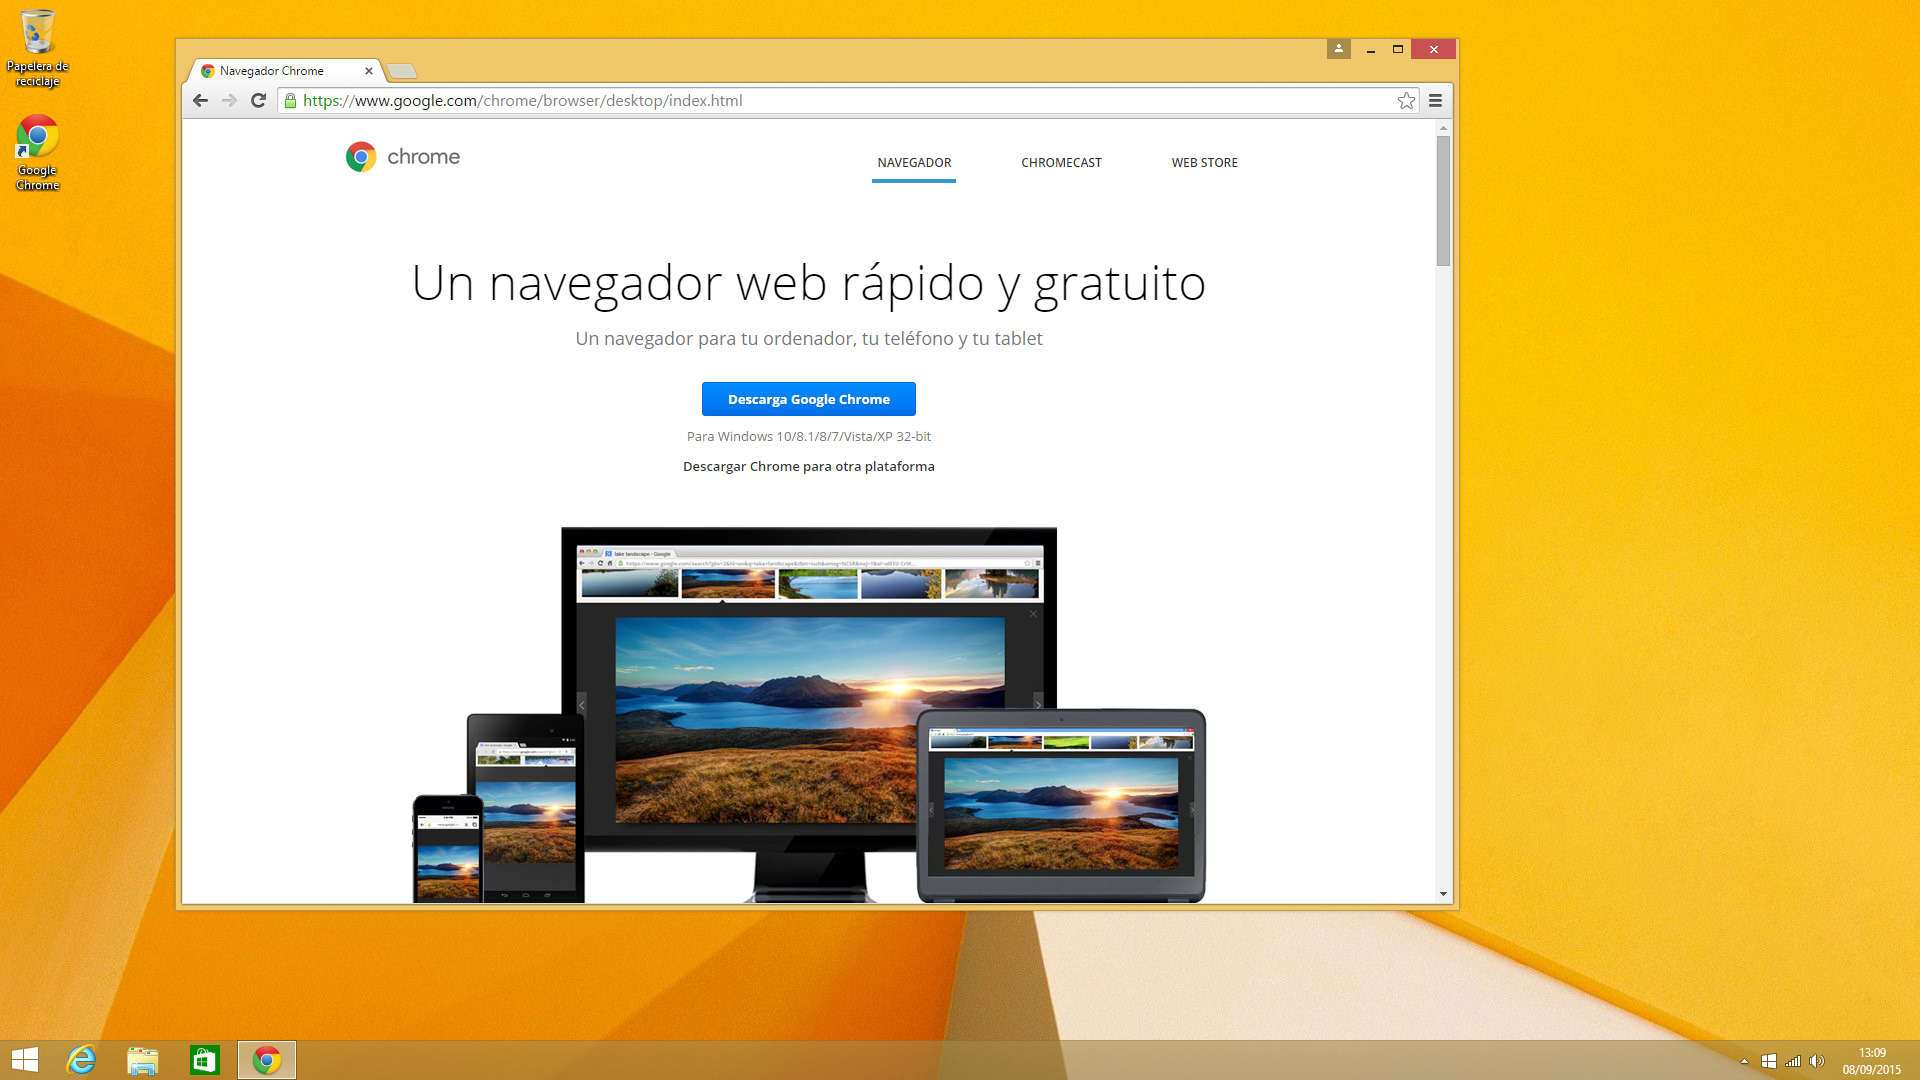
- Ensure the Google Chrome browser is installed on your computer. if not, access to the https://www.google.es/chrome web page and follow the suggested steps for installing the Google Chrome version appropiated to you operating system.
Showcase deployment
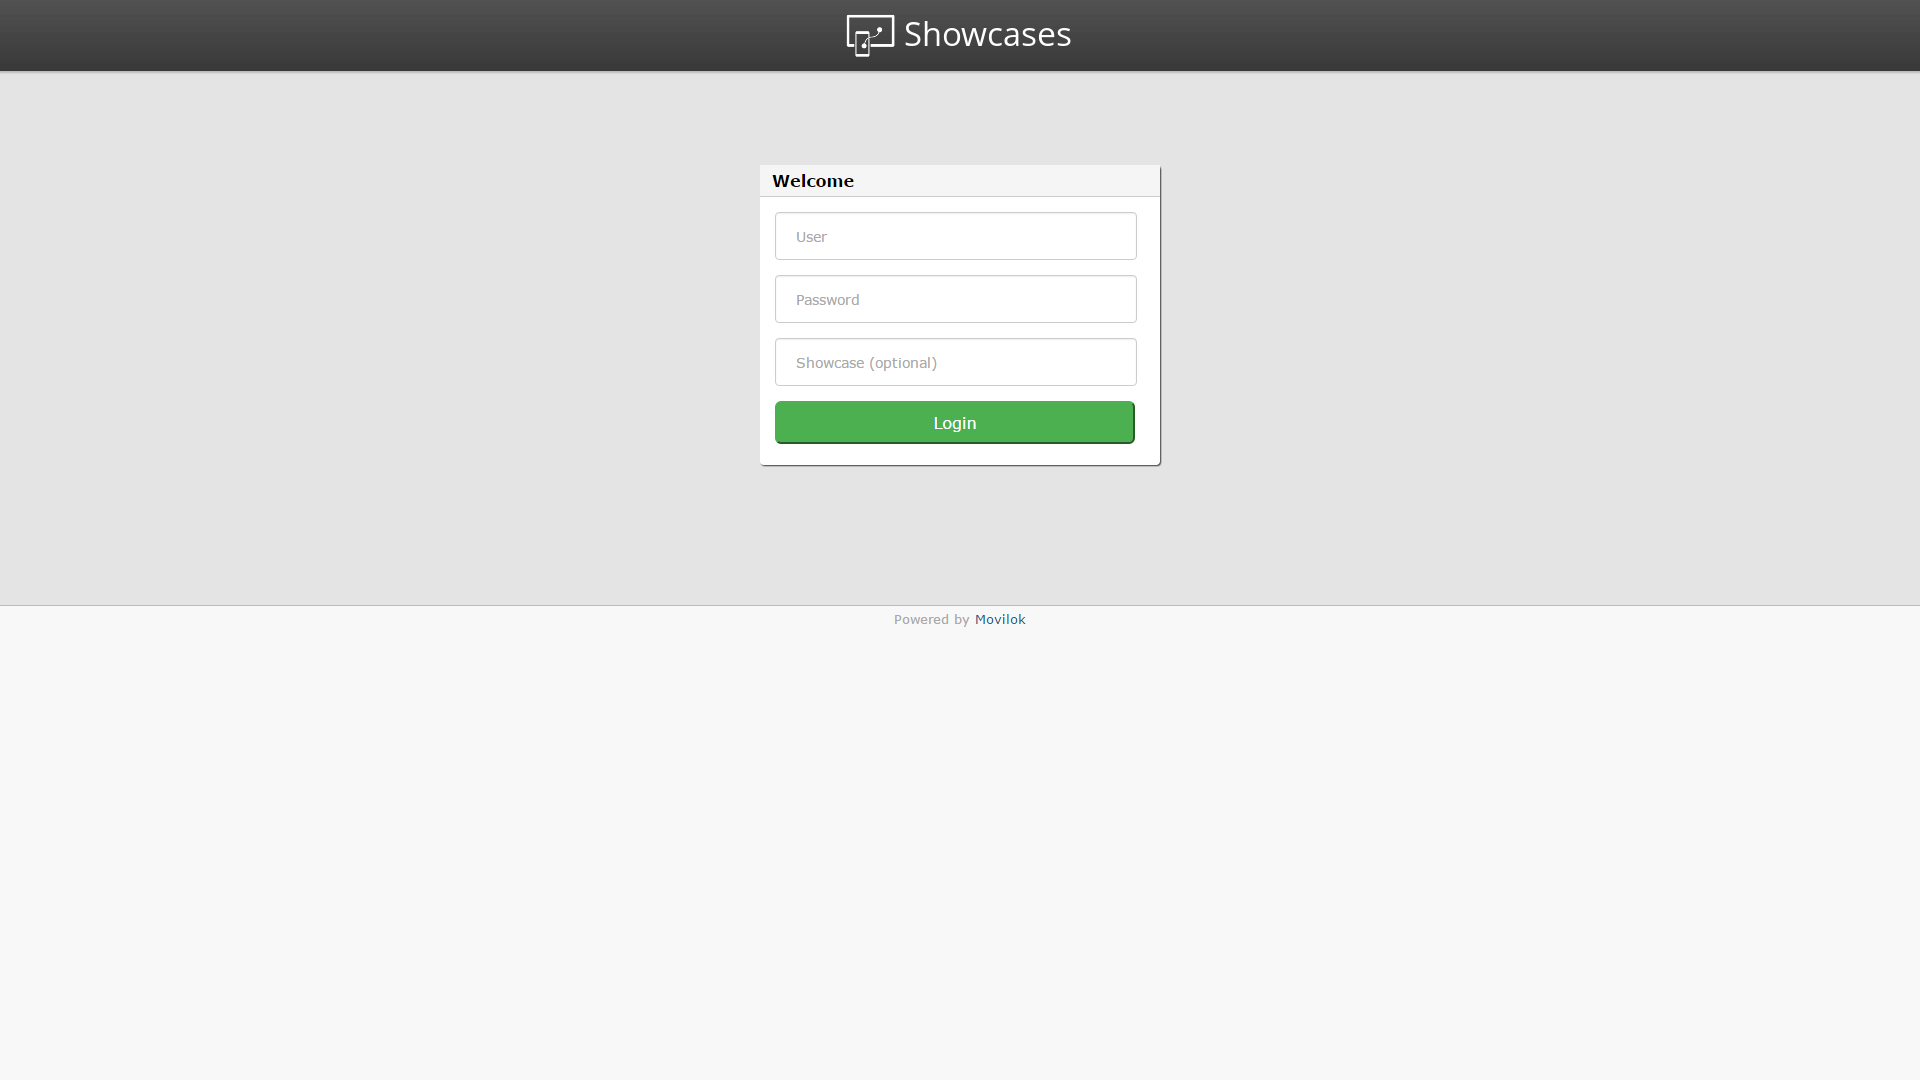
- Open your Google Chrome browser. Activate the Presentation mode. Depending on your operating system, you could do this from the View -> presentation mode menu option or clicking on the full screen icon. Access to the Movilok Showcases web page: https://mshowcases.com/player. You will see the Login form. Enter your Movilok Showcases user name and password . Optionally you can also enter the code of your showcase.
- If at the previous step you did not entered the code of the showcase, select it from your showcases list.
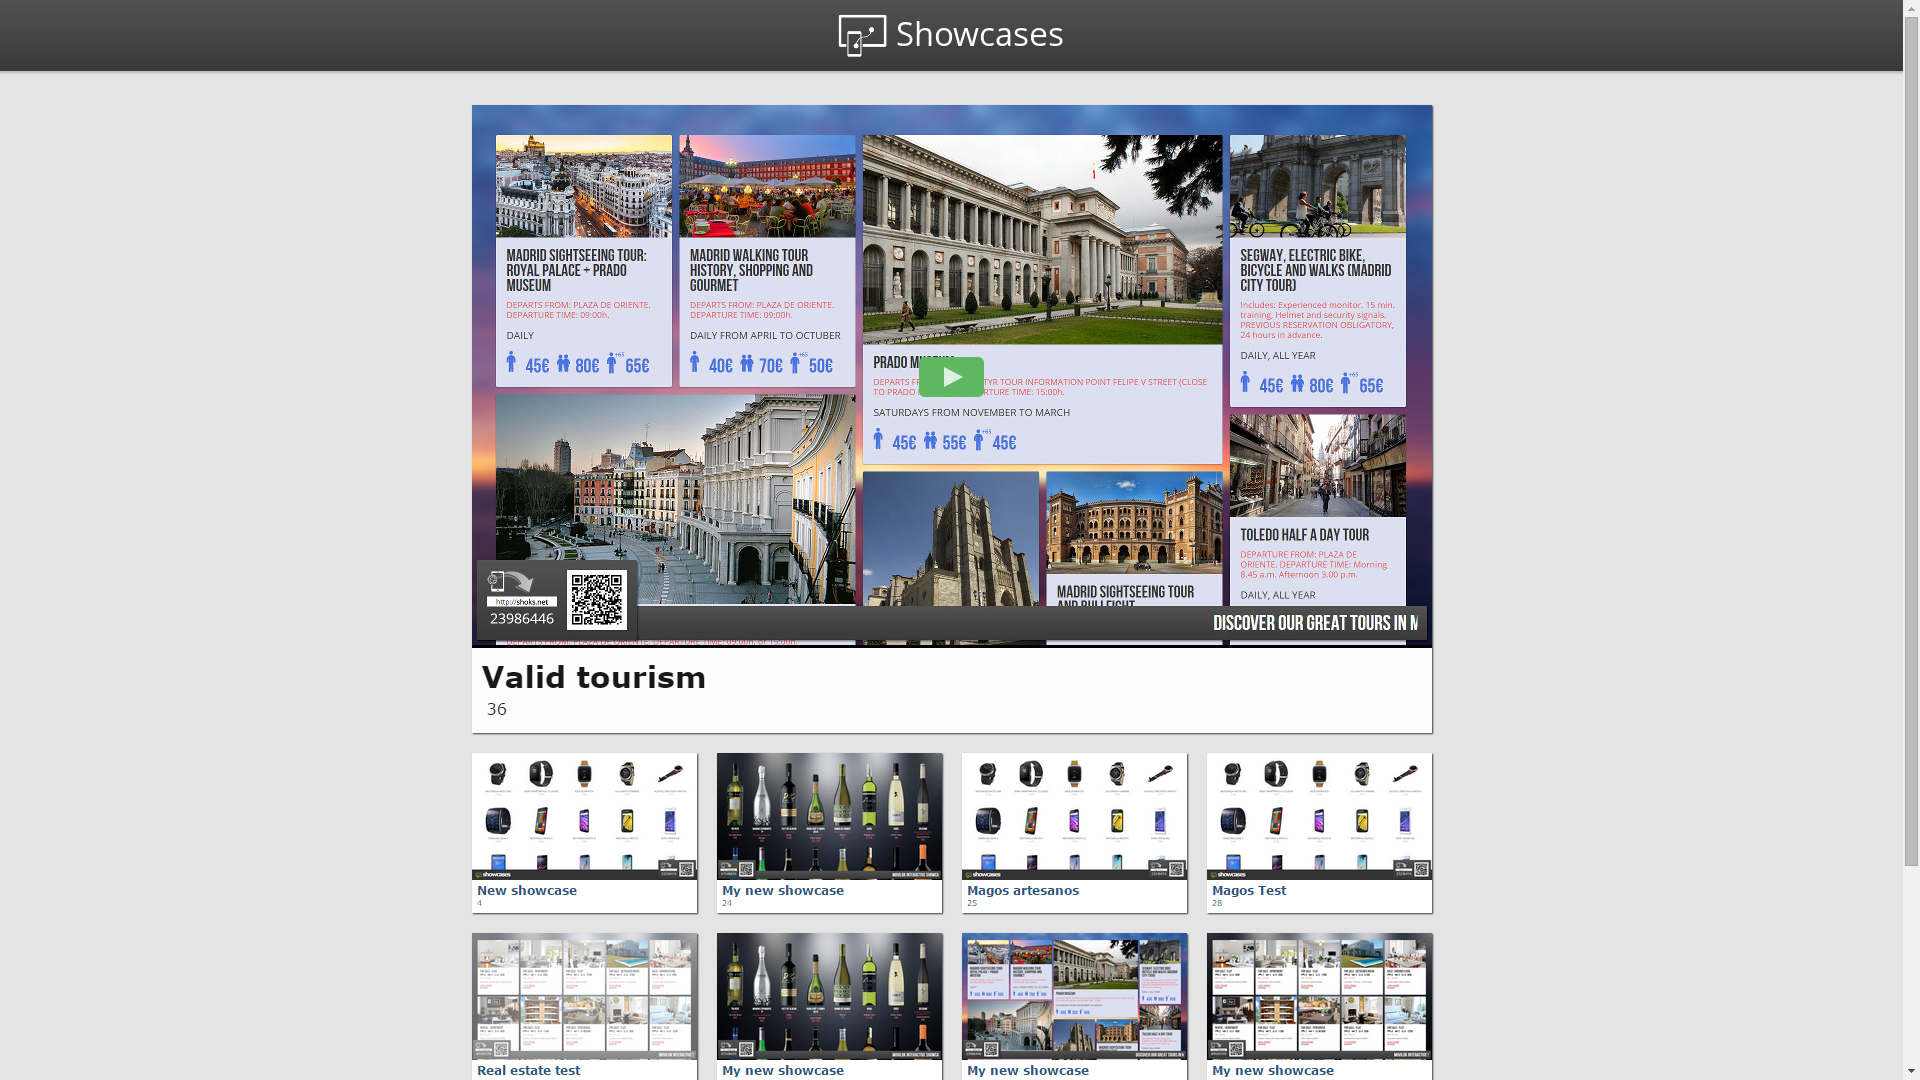
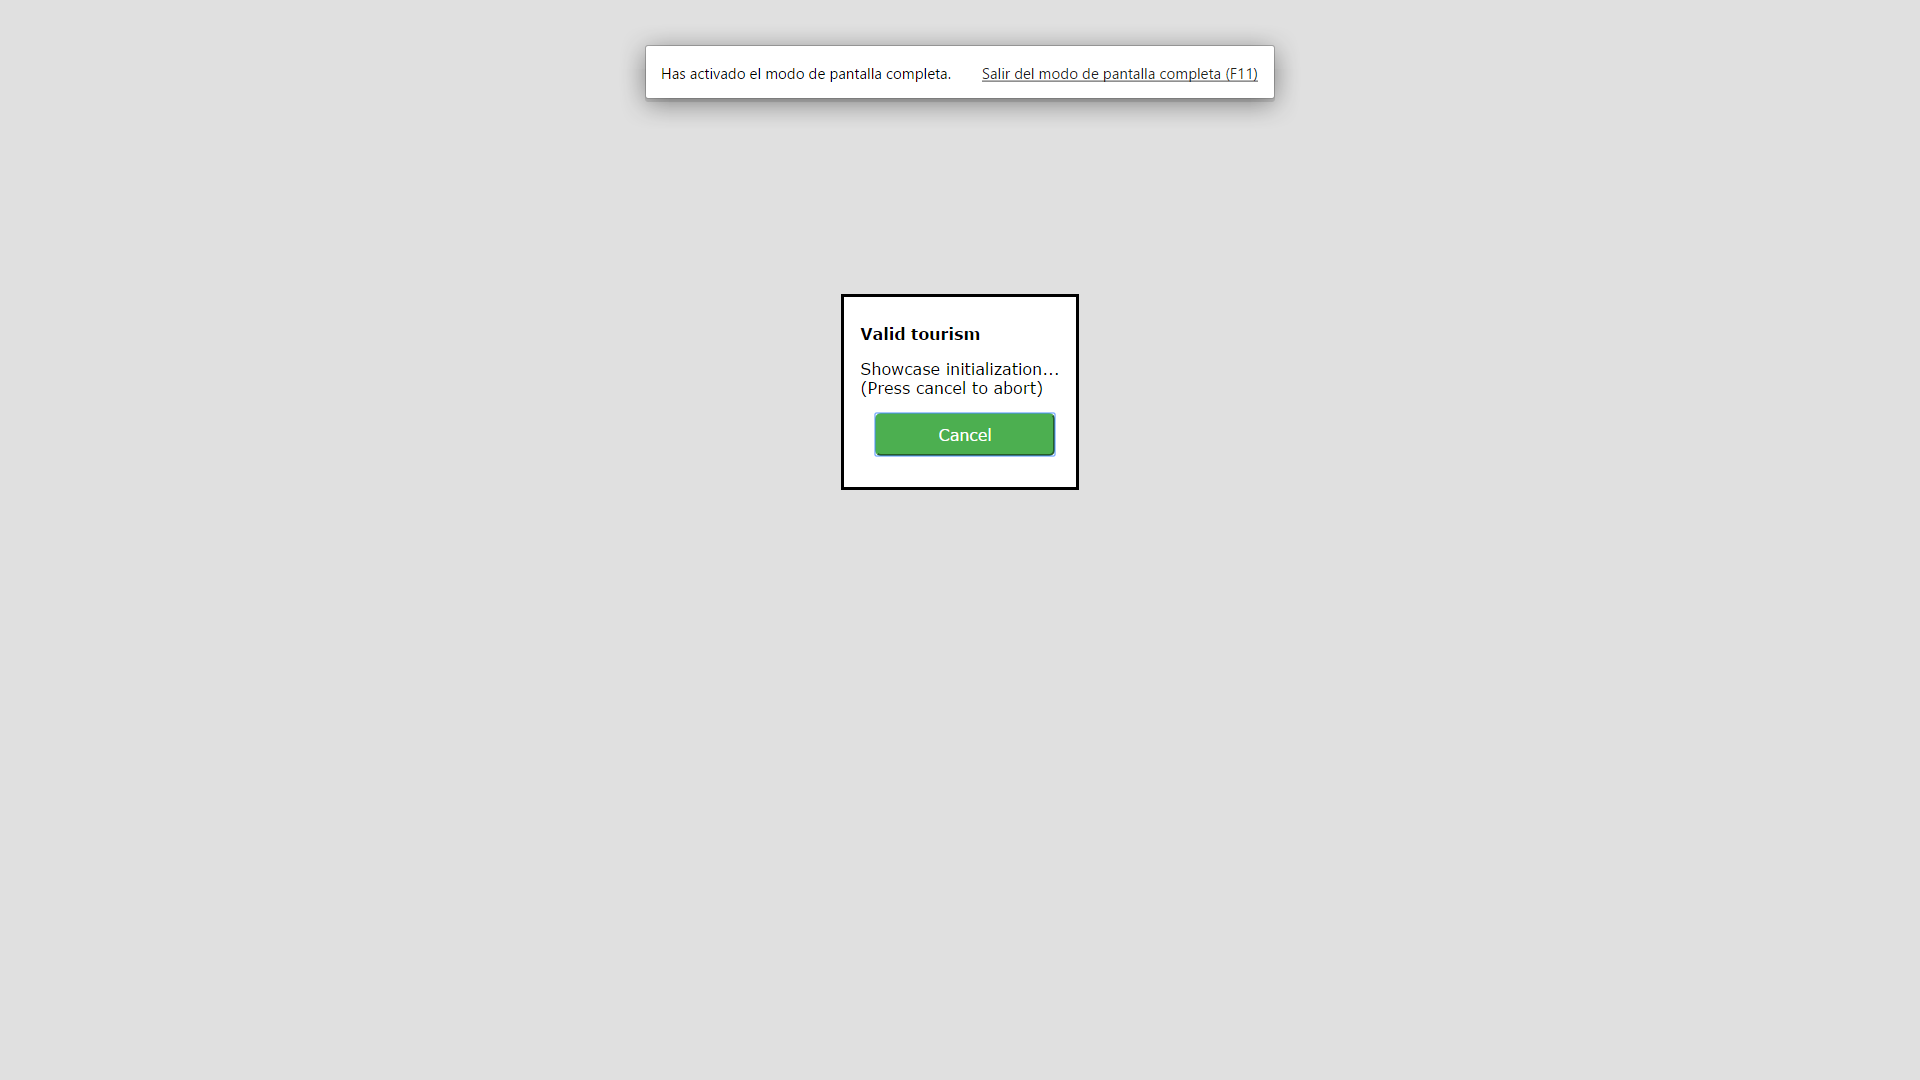
- It’s done! your showcase will start to be shown on the screen.

The next time you start the Google Chrome browser, your showcase will automatically start, although you can cancel that automatic start in order to select a different one.
Kiosk mode configuration (optional)
At some devices and operating systems, it is possible to configure the automatic Movilok Showcases application startup when the computer turns on. That is known as Kiosk mode. The kiosk mode configuration and startup is not an homogeneous thing. It differs depending on the used device, the operating system and its version.
The right way to make this configuration at some devices is:
In order to configure the Intel Compute Stick for kiosk mode, you will need to follow the following steps:
Create a new user account
- Access to the device configuration
- Select Accounts -> Other accounts -> Add accounts
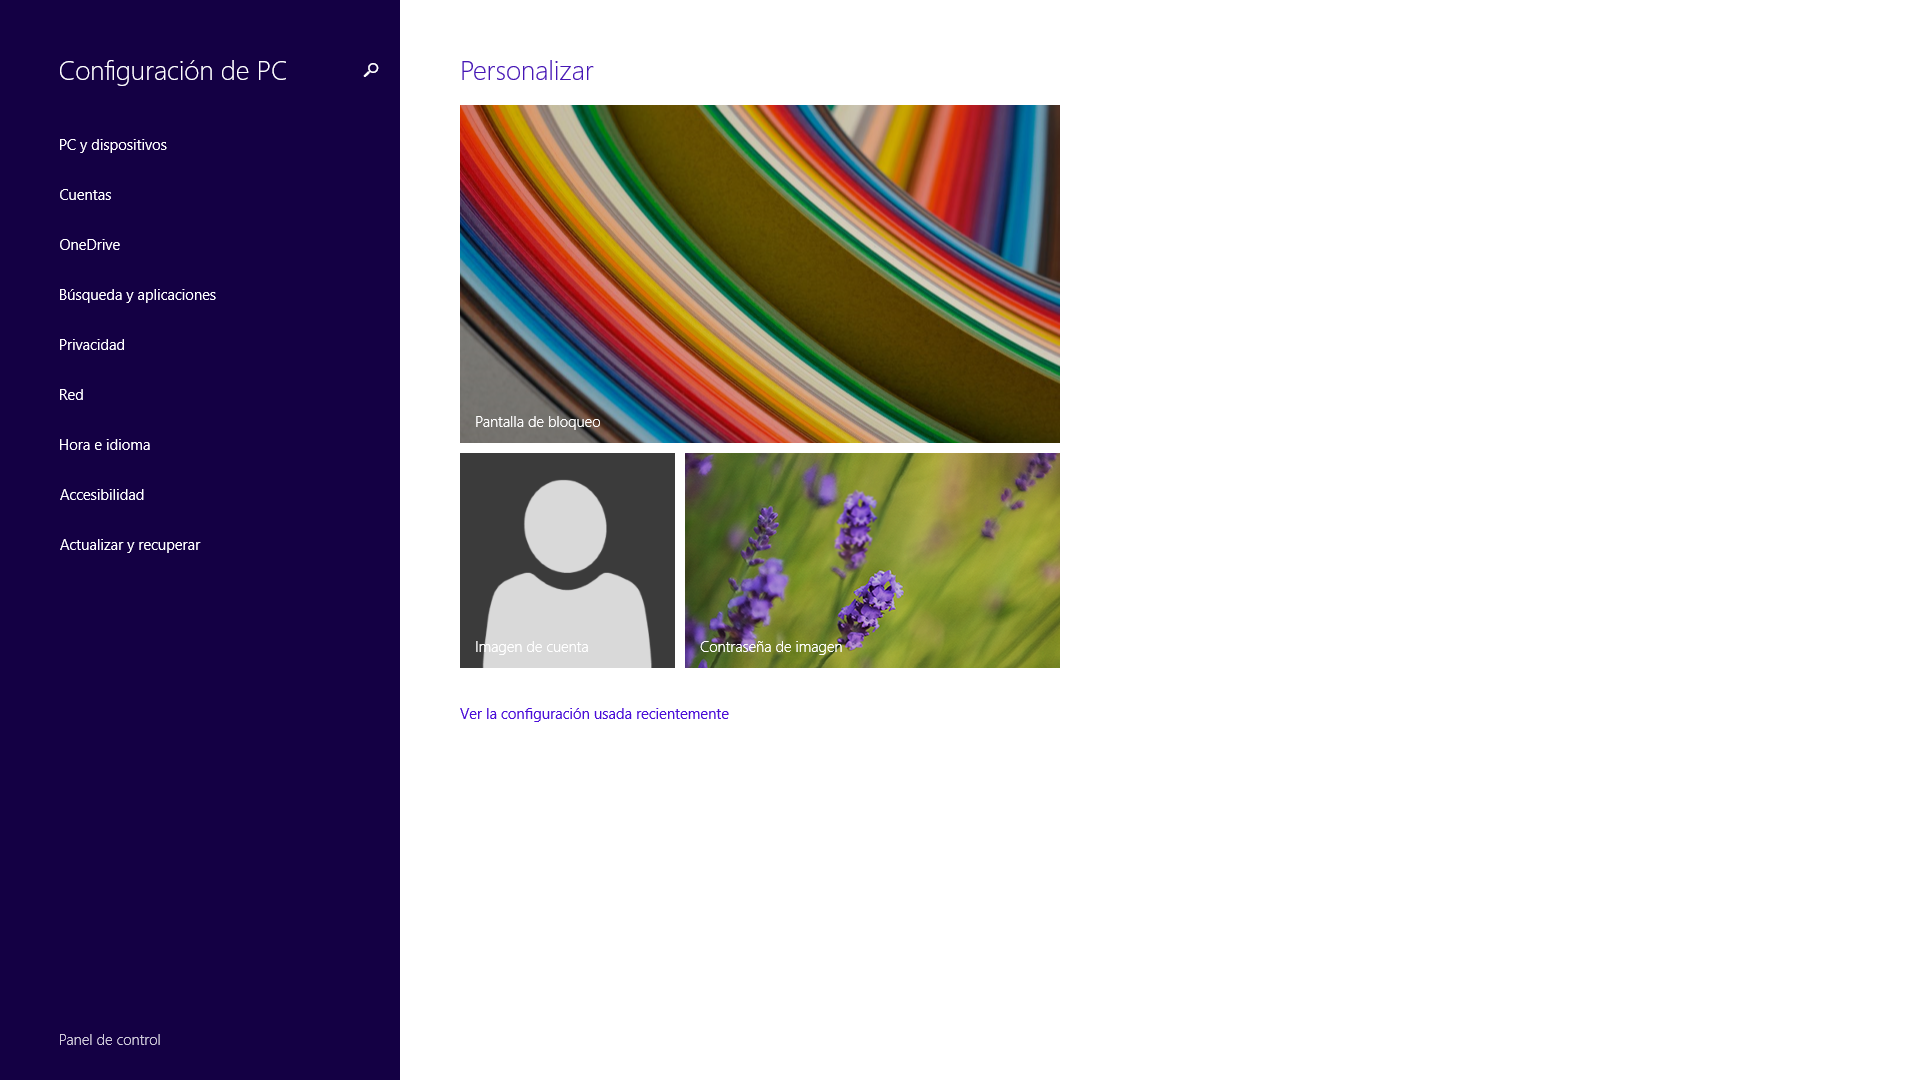
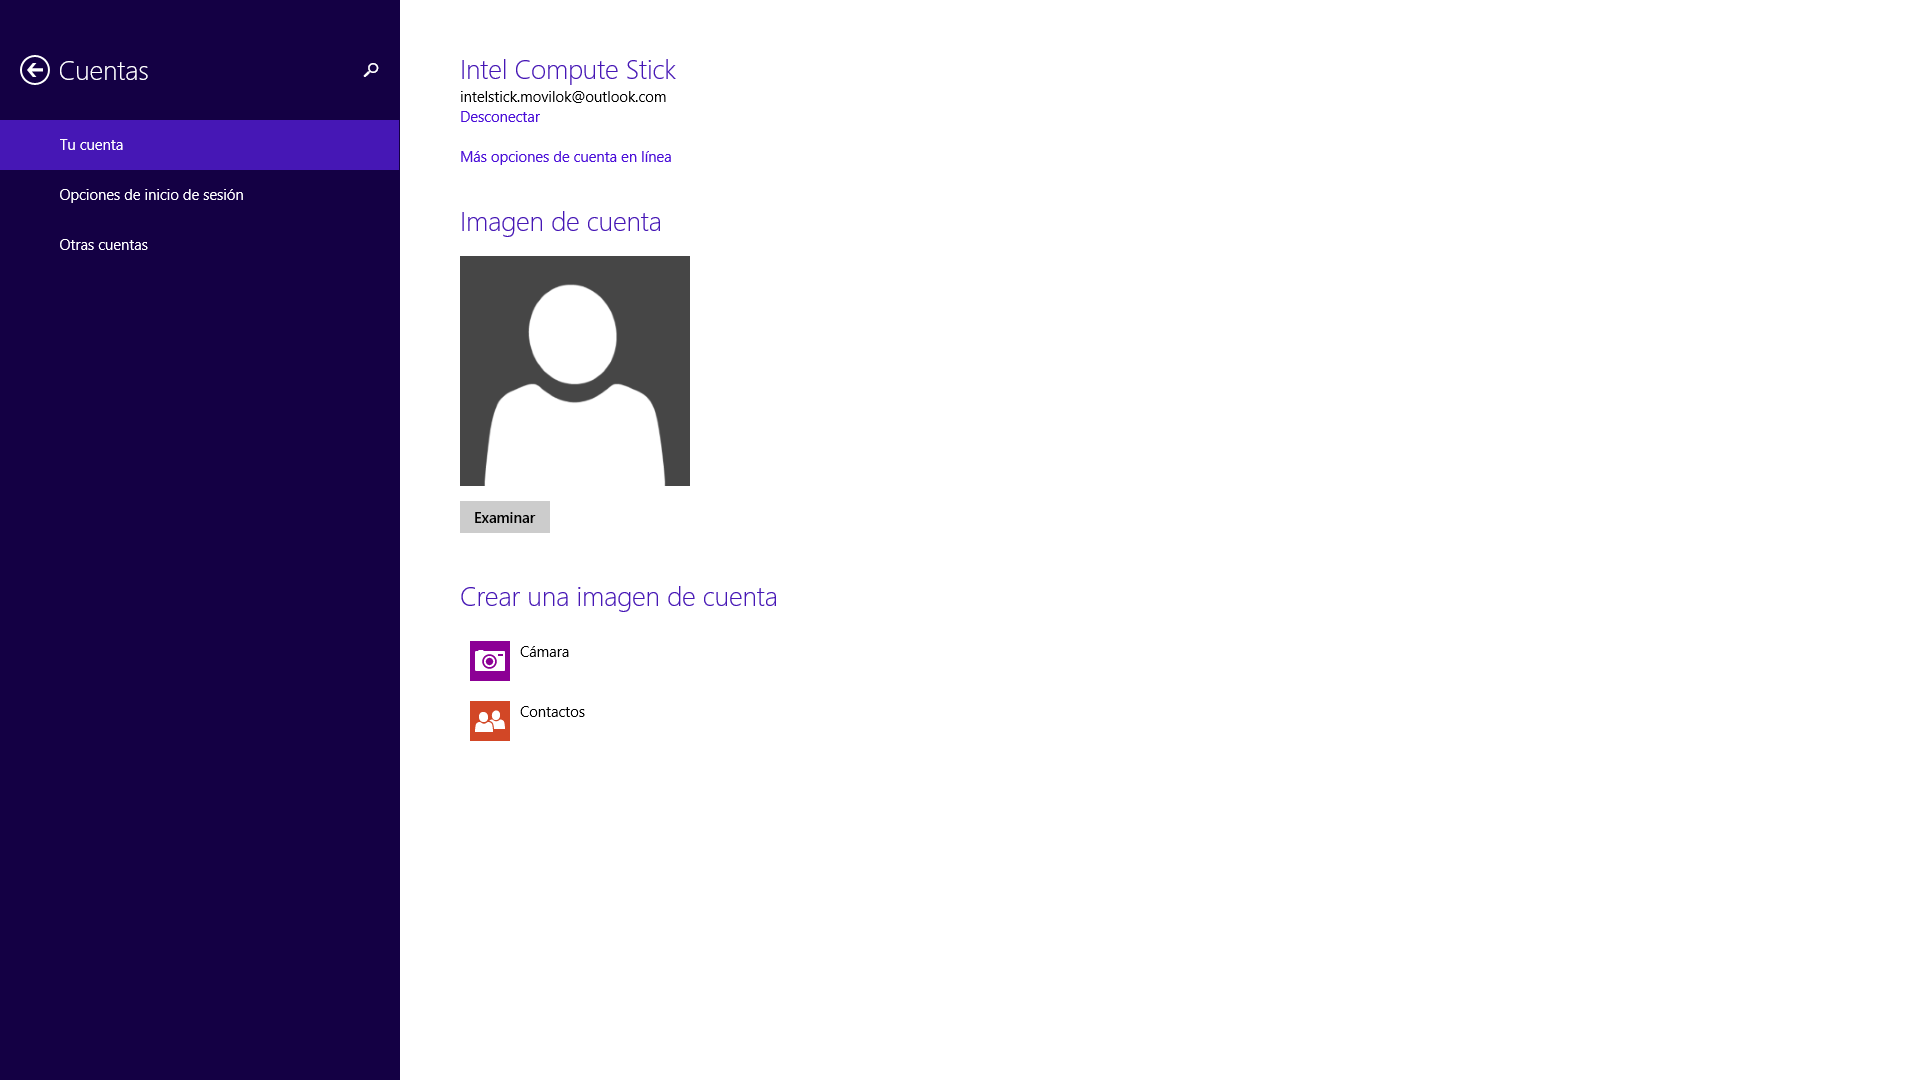

- Follow the instructions on the screen for creating a new user account
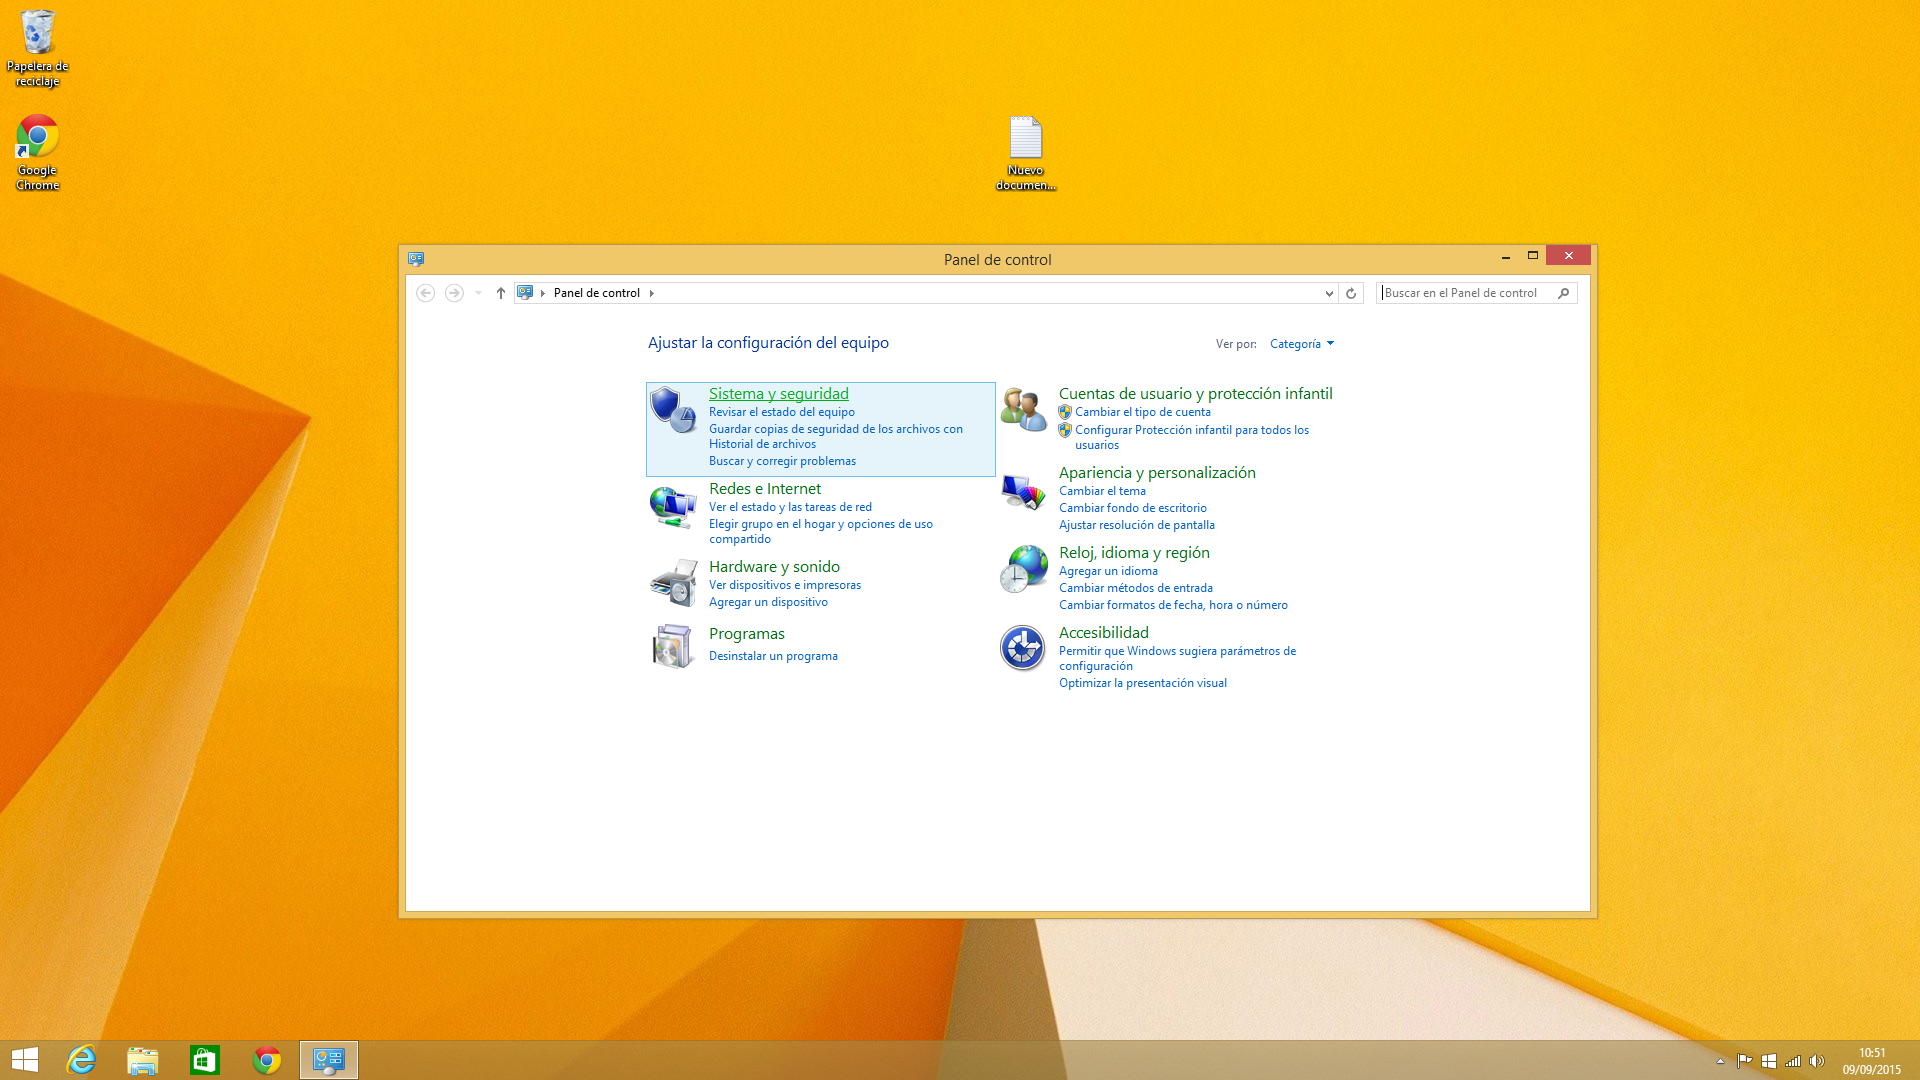
Switch off button configuration
The next step consists in the right configuration of the on/of device button.
- From the configuration application, click on Control panel.

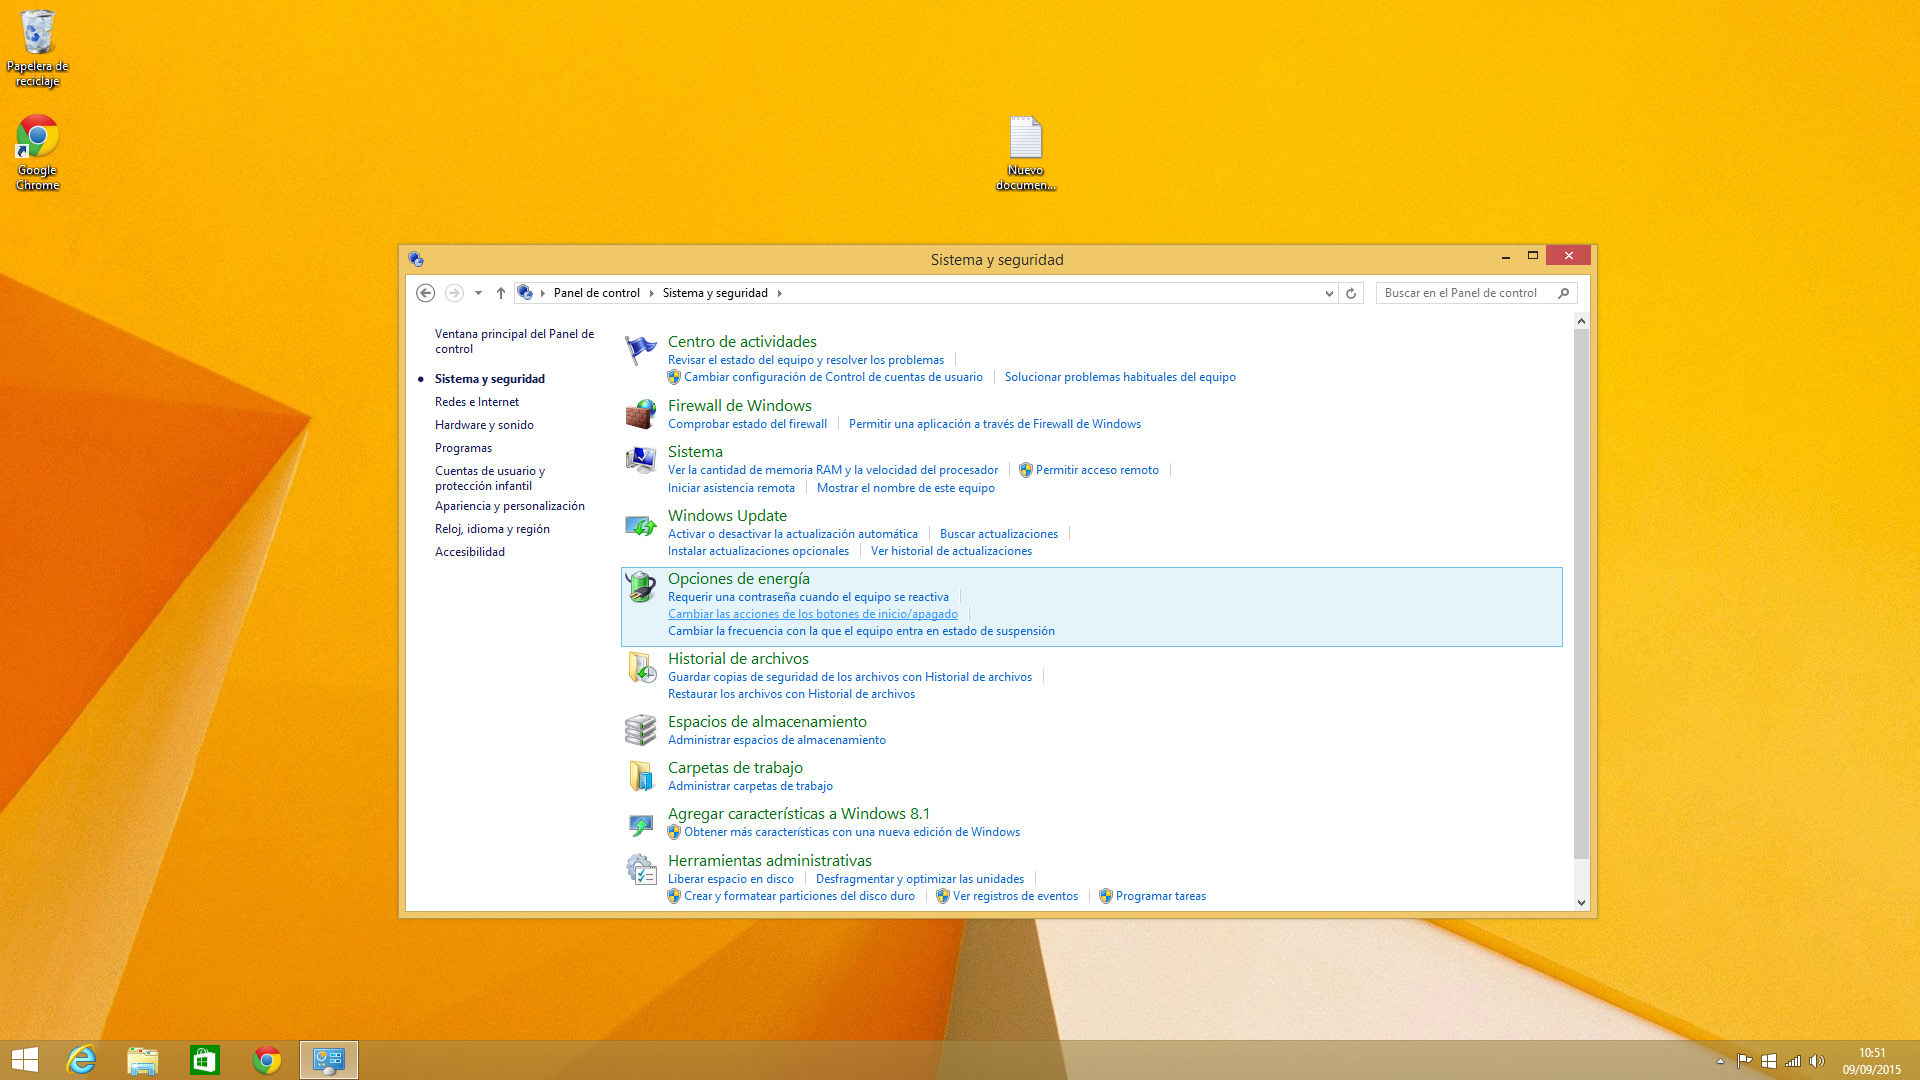
- At the control panel, click on System and security.
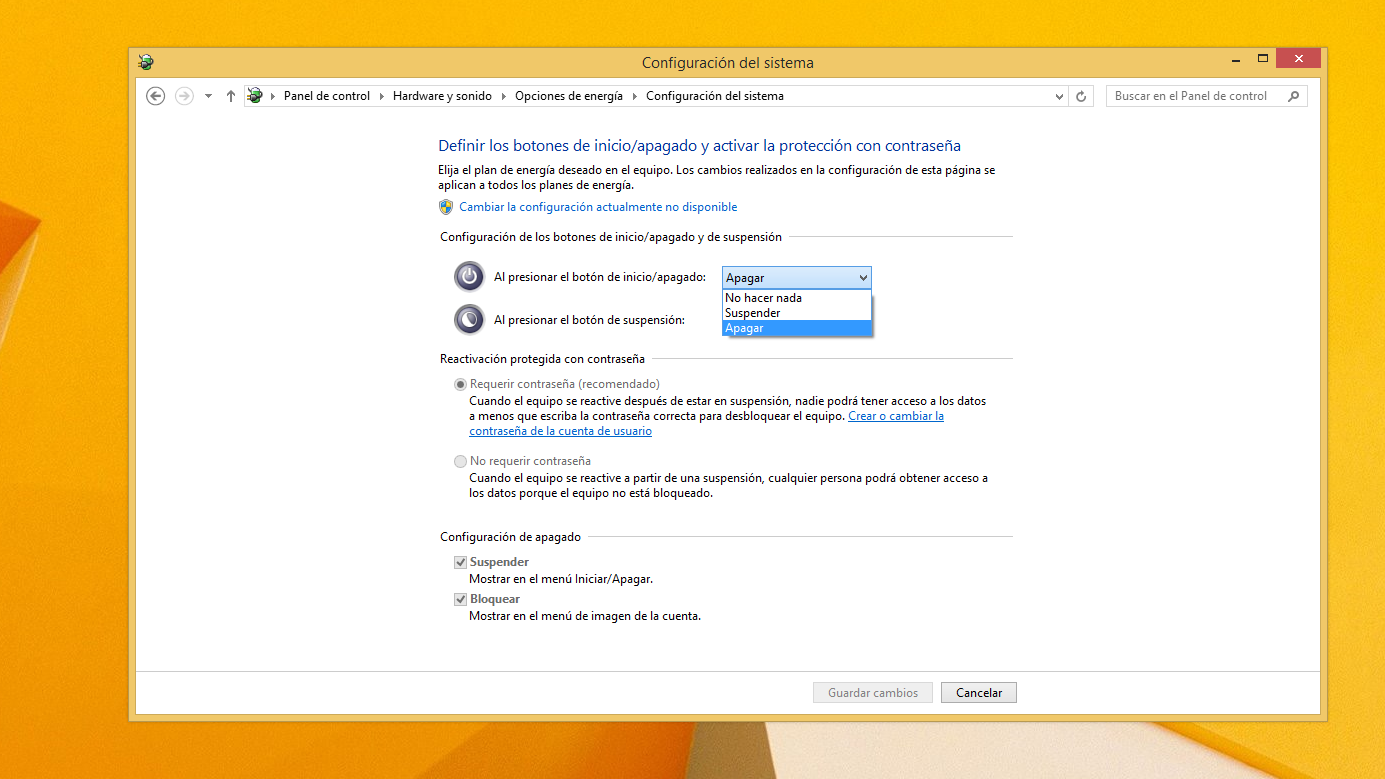
- Inside the Power options, click on Change what the power buttons do.
- At the When I press the power button option, select Shut down. Click on Save changes.
Registry keys modification
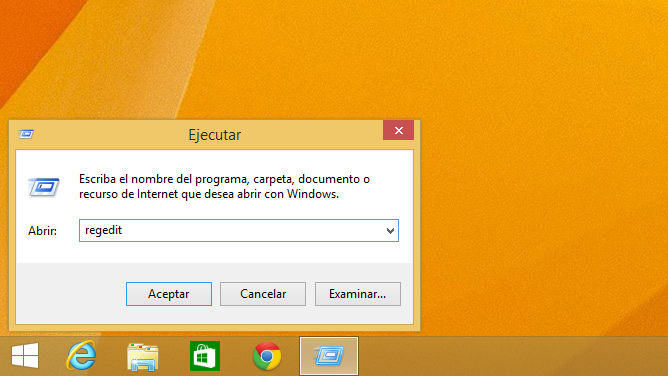
- Init the command run application. From there, run the registry keys edition command (regedit).
- Search for the HKEY_LOCAL_MACHINE -> Software>>Microsoft -> Windows NT -> CurrentVersion ->Winlogon key.
- Double click on the DefaultUserName entry and enter de recently created usar account name. Click Ok.

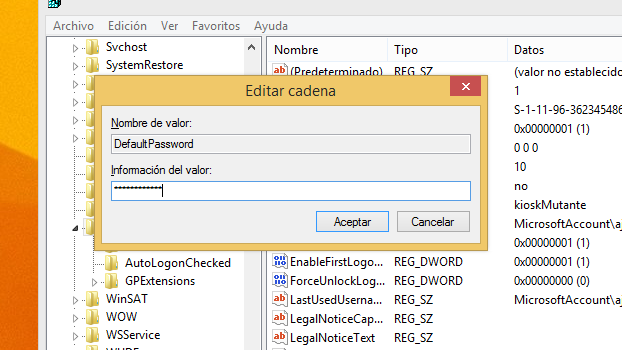
- Double click on the DefaultPassword entry and enter the password for the recently created user account. Click Ok. If a DefaultPassword entry does not exists, create it following the next steps:
- Go to Edit -> New -> String value.
- Name the new value as DefaultPassword and press Enter.
- Double click on the recently created entry and enter the password for the user account. Click Ok.
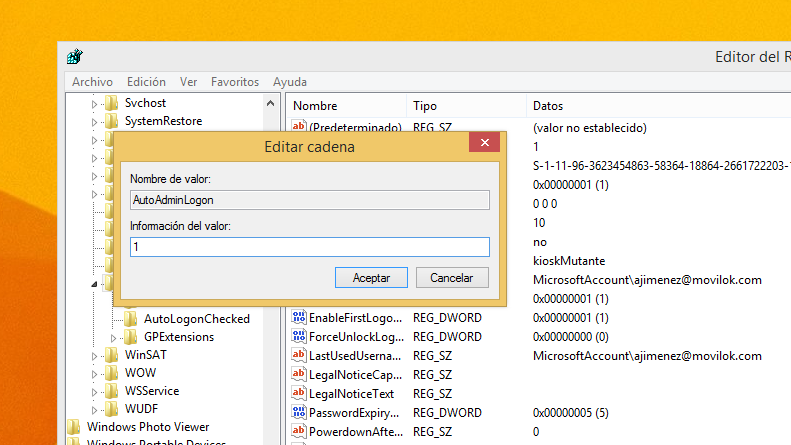
- Double click on the AutoAdminLogon entry and enter the value 1. Click Ok. If an AutoAdminLogon does not exists, create it following the next steps:
- Go to Edit -> New -> String value.
- Name the new value as AutoAdminLogon and press Enter.
- Close the registry editor and reboot the device.
With these changes, each time the device reboots, the specified user account session will be launched. You still have to establish the right configuration to allow the automatic showcase startup when that session starts.
- Init the command run application. From there, run the registry keys edition command (regedit).
- Search for the HKEY_CURRENT_USER -> Software -> Microsoft -> Windows NT -> CurrentVersion -> Winlogon key.
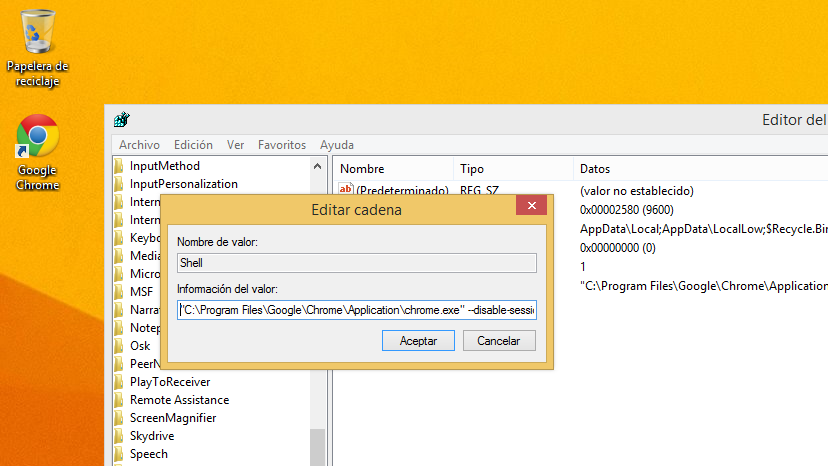
- Add a new string value to this registry through the Edit -> New -> String value option. Name it as Shell.
- Double click on this new string value and enter the path to the Chrome executable file (usually “C:Program FilesGoogleChromeApplicationchrome.exe”). You must also include the needed params to launch Chrome at kiosk mode and the Movilok Showcases URL. The final entered value will be similar to “C:Program FilesGoogleChromeApplicationchrome.exe” –disable-session-crashed-bubble –disable-infobars –disable-translate –no-first-run –kiosk https://mshowcases.com/player
- Close the user session and login again, or reboot the device. Your showcase should automatically start.